
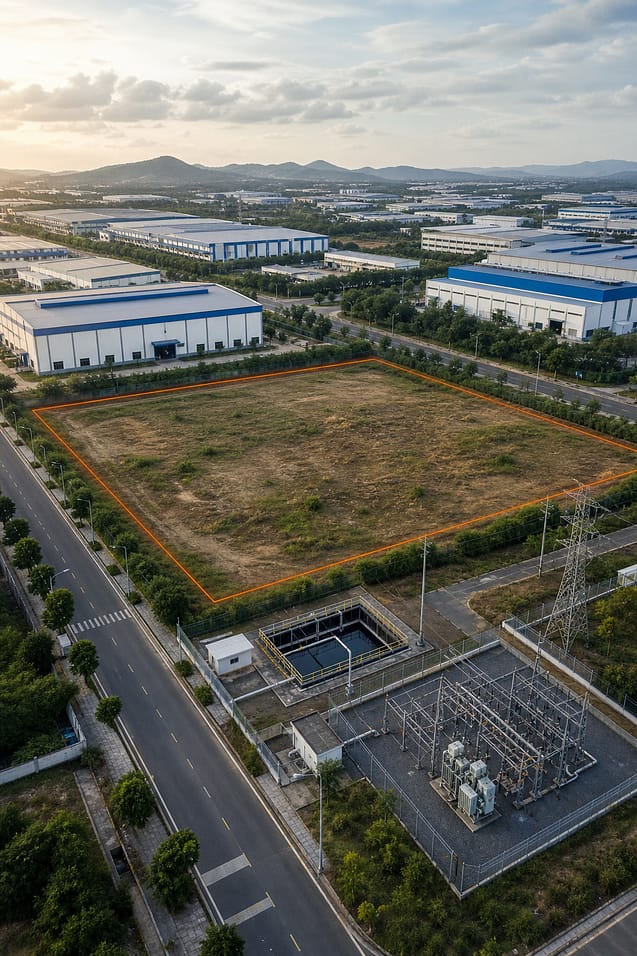
Starting a wire and cable plant feels huge, but the path breaks into clear steps. Below we walk you through every phase, from market checks to the first run of your extrusion line.
Step 1: Conduct Feasibility Study and Market Analysis
First, verify that demand exists for the cables you plan to make. Look at upcoming 5G roll‑outs, renewable‑energy grid upgrades and electric‑vehicle power‑train needs. Industry analyses note that high‑voltage cables for offshore wind are a major driver of new production capacity1. Match that macro trend with the specific cable types you can produce, low‑smoke halogen‑free, XLPE, fiber‑optic, or specialty polymers.
Next, size the market. Use the latest wire‑and‑cable compounds forecast, the global market is projected at $16 billion in 2026 with a 5 % CAGR2. Translate those numbers into a volume target for your plant. If you aim for 10 % of a regional market, that means roughly 1.6 million kg of compound per year.
Run a cost‑benefit model. Include raw‑material costs, energy use, labor rates, and capital outlay for extrusion equipment. Remember that energy is the biggest expense in extrusion; a 25 % drop in extruder power can shave millions off the total cost.
Finally, draft a risk register. List raw‑material price swings, regulatory changes (like the EU’s PVC ban), and supply‑chain bottlenecks. Assign mitigation steps, long‑term resin contracts, local spare‑parts inventory, or flexible machine design.
By the end of this step you should have a solid business case, a target product mix, and a clear view of the financial upside.
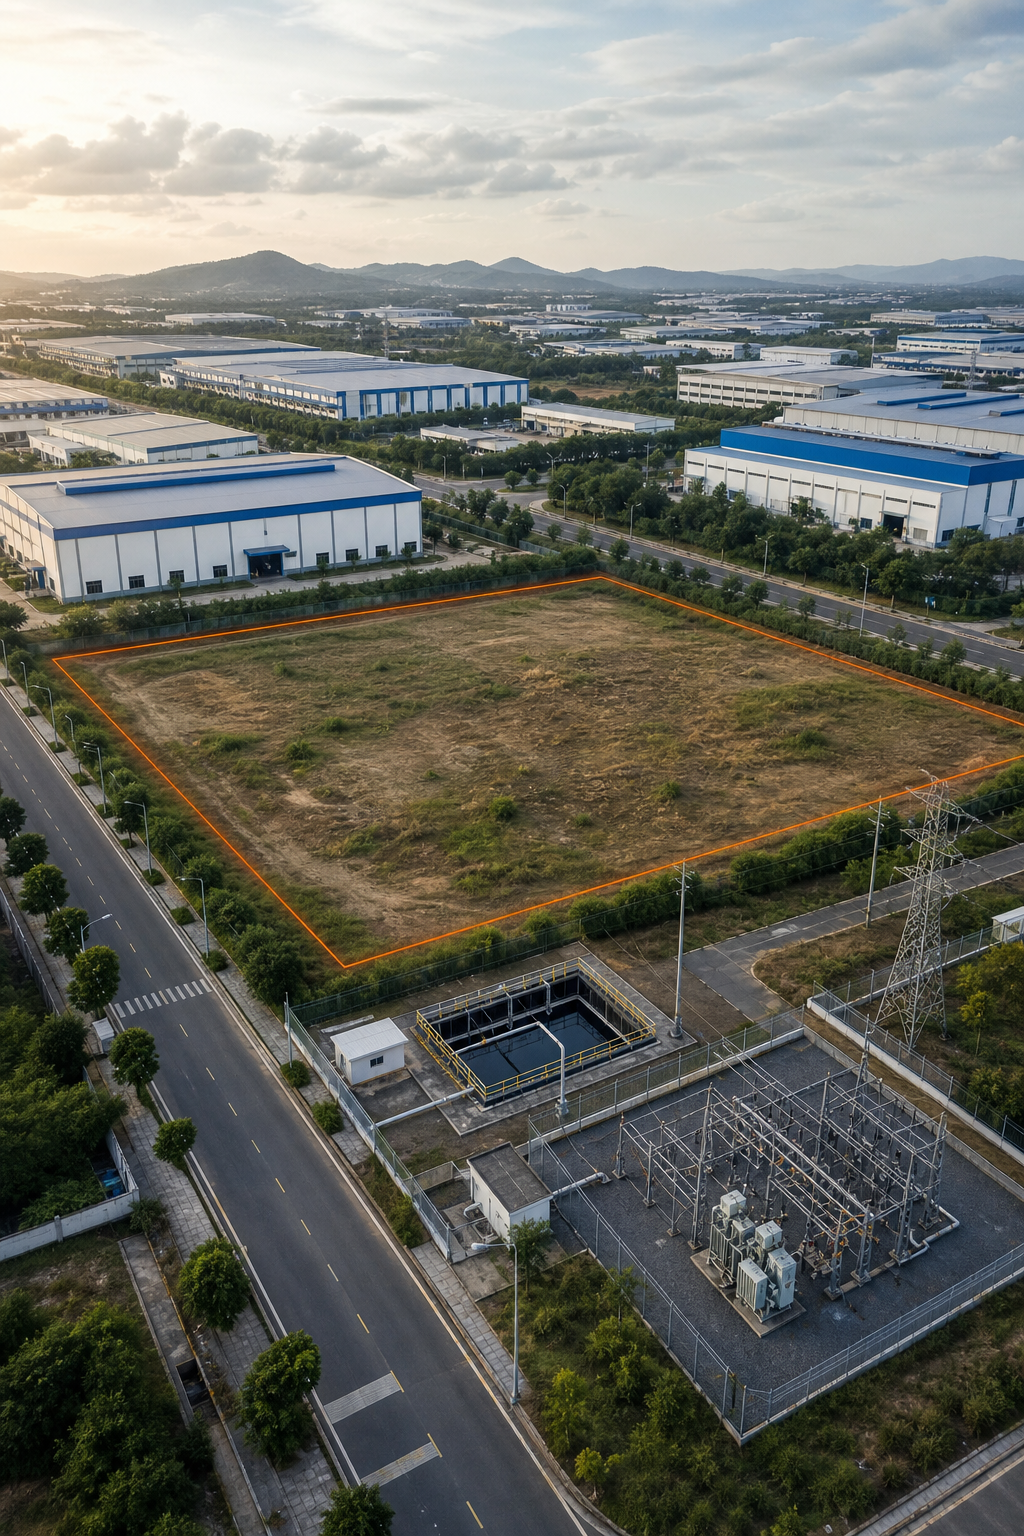
Step 2: Secure Land, Permits, and Regulatory Approvals
Choose a site that balances logistics and expansion room. Proximity to raw‑material hubs reduces transport cost, while easy highway or rail access eases finished‑goods shipping. Check zoning maps , industrial zones are a must.
Apply for the required permits. In India, you will need a Factory License from the appropriate state authority, an Environmental Clearance from the relevant environmental ministry, and a consent from the local pollution control agency for emissions. Each authority has a checklist; keep a spreadsheet to track submission dates and comments.
Don’t overlook fire safety and electrical clearance. Cable plants handle high‑temperature melt zones, so a fire‑hazard analysis is mandatory. Engage a local consultant who knows the state‑level forms , they can speed up approval by a few weeks.
Once permits are in hand, negotiate land lease or purchase terms. Look for a clause that allows future expansion of at least 20 % of the built‑up area.
By now you should hold a signed land agreement, a complete permit package, and a clear timeline for ground‑breaking.
Step 3: Design Production Layout and Select Machinery
The plant layout determines flow, safety and future upgrades. Sketch a linear line: raw‑material feed → extruder → crosshead → cooling → spark test → haul‑off → take‑up. Keep each station at least 1.5 m apart to allow maintenance aisles.
Choose the right extruder. Modern ROEX extruders cut energy use by about 25 % compared to older models and handle a wide material range, from PVC to Teflon3. Their compact motor gearbox delivers stable melt pressure, which means fewer product defects.
Pair the extruder with a crosshead that matches your cable profile. A manual‑centre crosshead offers flexibility for multiple sizes, while a fixed‑centre version gives higher speed for a single product line. Learn more about crosshead selection in our guide What is a Crosshead in Cable Extrusion?.
Install sensors for temperature, pressure and speed. The Custom Cable Extrusion Line from Sai Extrumech lists twelve IoT‑enabled functions , the deepest automation set in the market4. Those sensors feed a PLC that can run recipe‑based setups, reducing changeover time.
Plan utilities carefully. Water‑cooled feeding sections need a closed‑loop system to avoid contamination. Electrical supply should be three‑phase, 415 V, with a backup generator for critical equipment.
By the time this step is done you have a CAD layout, a bill of equipment, and a list of vendors ready for quotation.
Step 4: Install Extrusion Lines and Support Equipment
Start with the foundation. Concrete slabs must be level to within 2 mm across the entire line length; any tilt causes uneven cooling and wall thickness variation.
Place the extruder first. Align the screw axis with the downstream crosshead using laser markers. A mis‑aligned screw creates surging and can damage the barrel.
Next, fit the crosshead and cooling trough. Connect the water‑cooling loops, then bleed air to avoid pockets that could cause hot spots.
Install the haul‑off unit, the motorised pull‑unit that draws the cable out of the line. It controls line speed, draw‑down ratio and tension. Refer to the equipment sizing guide to select the appropriate capacity for your product range.
Fit the take‑up system and any post‑extrusion equipment such as cable testing stations, marking devices and reel winding machines. Verify that all PLC I/O points match the wiring diagram from the equipment supplier.
Run a dry‑run with no polymer. Check for vibration, confirm that all safety interlocks engage, and record power draw at each station.
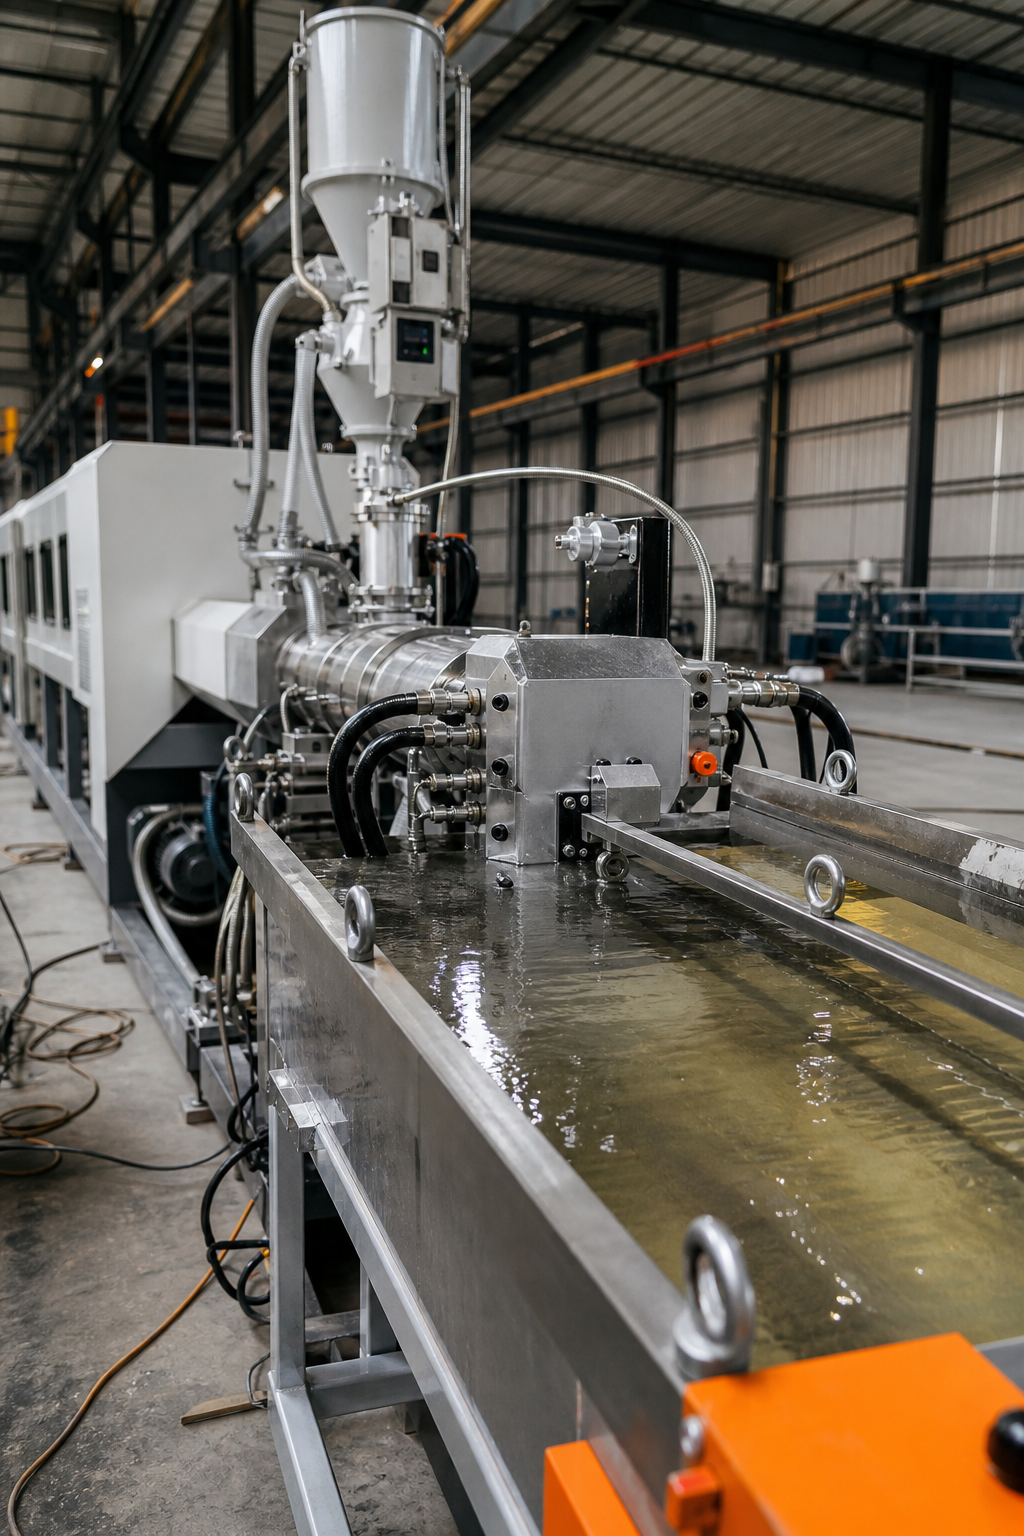
When the line passes the dry‑run, you have a mechanically sound installation ready for material.
Step 5: Commission, Test, and Optimize Operations
Load a small batch of test compound. Start the extruder at low speed and monitor melt temperature, pressure and screw torque. Adjust the heater zones until the melt temperature is stable within ±2 °C.
Run the first full‑speed trial. Measure cable outer diameter, wall thickness and concentricity. If concentricity is off, fine‑tune the crosshead screws while the line runs. Our guide on concentricity explains the exact adjustment steps.
Validate the spark‑test results. The test should detect any insulation defects before the cable leaves the line. Record the pass rate , a healthy line shows >98 % pass on the first pass.
Use the line’s IoT sensors to capture key performance indicators. Compare actual output to the recipe‑based target. If output falls short, look at screw wear or barrel temperature drift. Early‑stage wear shows up as higher torque or a rise in melt temperature.
Finally, train the operators. Provide a standard operating procedure that covers start‑up, changeover, and shutdown. Keep a spare‑parts kit for critical components , Sai Extrumech guarantees days‑long coverage for 95 % of parts, reducing downtime.
By the end of commissioning you should see stable product quality, meet the target throughput, and have a maintenance plan in place.
FAQ
What are the first things to check before buying extrusion equipment?
The first check is the material range you need , make sure the machine can melt PVC, XLPE, TPE and any specialty polymers. Next, verify the automation features; a line with sensor‑driven control saves changeover time. Finally, confirm spare‑parts availability to avoid long downtimes.
How long does it take to get the necessary permits for a cable factory in India?
Permits typically take 3‑6 months, depending on the state and the completeness of your application. Start early and keep a checklist for the Factory License, Environmental Clearance and the relevant environmental authority consent.
Can I run both power and data cables on the same extrusion line?
Yes, you can use a modular line that swaps crossheads and dies between runs. The key is to have interchangeable feeding sections and a PLC that stores separate recipes for each cable type.
What energy‑saving options exist for extrusion lines?
Modern extruders like the ROEX series use a compact motor gearbox that reduces power draw by up to 25 % compared to older models. Adding variable‑frequency drives to pumps and fans also cuts consumption.
How often should I perform maintenance on the screw and barrel?
Inspect the screw and barrel at least once a year for high‑volume lines, and every six months if you process abrasive compounds. Look for wear signs such as increased torque, higher melt temperature or surface scoring.
Ready to move forward? Explore our full guide on selecting the best cable extrusion line for your plant and get a free consultation.
Conclusion
We recommend starting with a modular extrusion line from Sai Extrumech , it offers the deepest automation and fast spare‑parts support. Contact the team today to run a feasibility review and begin your factory build.
Ready to put this into practice? Sai Extrumech Pvt. Ltd. was built for exactly this.
