
Production stops when a screw or barrel wears out, and downtime hurts your bottom line. Follow these five steps to keep your extrusion line humming and avoid costly surprises.
Step 1: Safety Precautions & Equipment Shutdown
First, lock out power and hydraulic lines. Tag the machine so no one can restart it by mistake. Wear heat‑resistant gloves, safety goggles, and steel‑toe boots , the barrel can be over 200 °C.
Next, purge the resin. Run a suitable purging material until the melt runs clear. This softens any residue that would otherwise glue the screw to the barrel when it cools.
Once the melt is clear, let the barrel stay hot while you disconnect the electrical supply. A lock‑out/tag‑out (LOTO) procedure documented on the plant’s safety manual helps you stay compliant.
Finally, verify that all cooling water lines are shut off and that the emergency stop button is engaged. With the machine fully isolated, you can move on to the next step.
Step 2: Disassembly of Screw and Barrel
Start by removing the die, head, and any adapters that block access to the screw. Mark the orientation of the screw and coupling with a metal tag, this saves time when you re‑assemble.
Unbolt the coupling or gearbox at the screw shank. Use the recommended tool set to the manufacturer’s specification to avoid over‑tightening.
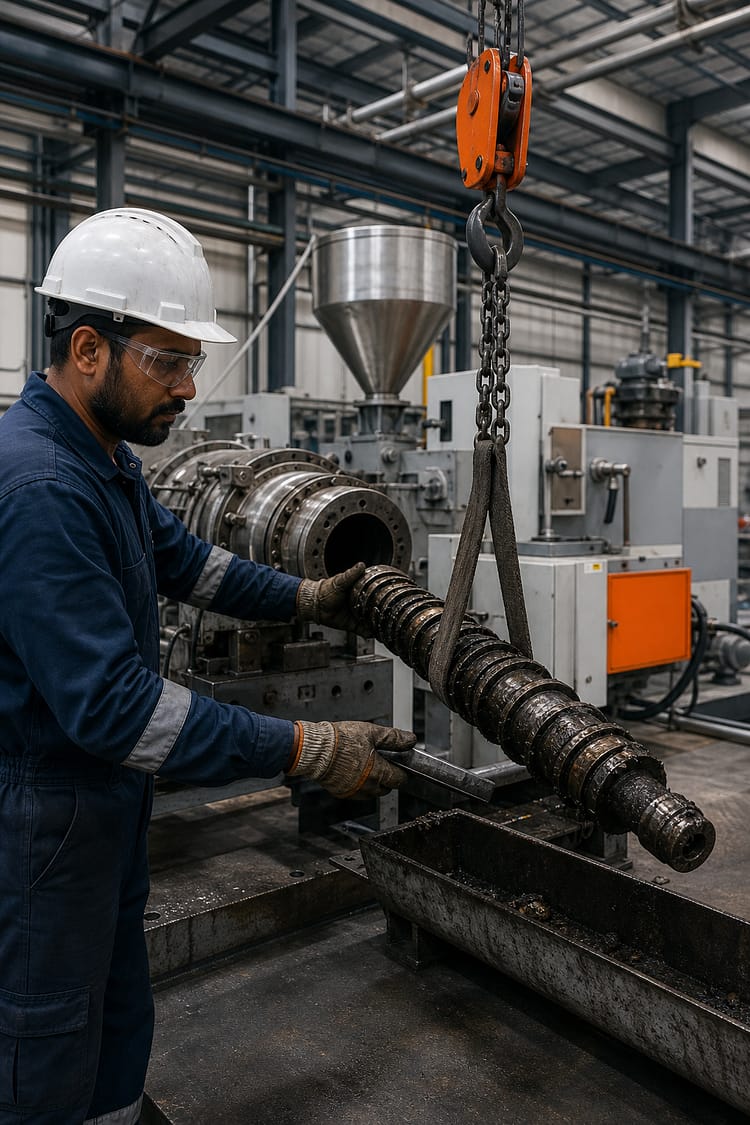
With the front end clear, support the screw using appropriate lifting equipment. Push the screw forward from the shank end; most machines have a built‑in extractor that slides the screw out through the discharge side.
Watch for any resistance. If the screw sticks, keep the barrel hot and apply a gentle, even force, forcing it can gouge the barrel bore.
When the screw clears the barrel, lower it onto a padded steel table. Avoid bare concrete; a soft surface prevents nicking the precision flights.
Pro Tip: Use a suitable scraper to remove any residual resin from the barrel before it cools. This makes the next cleaning step easier.
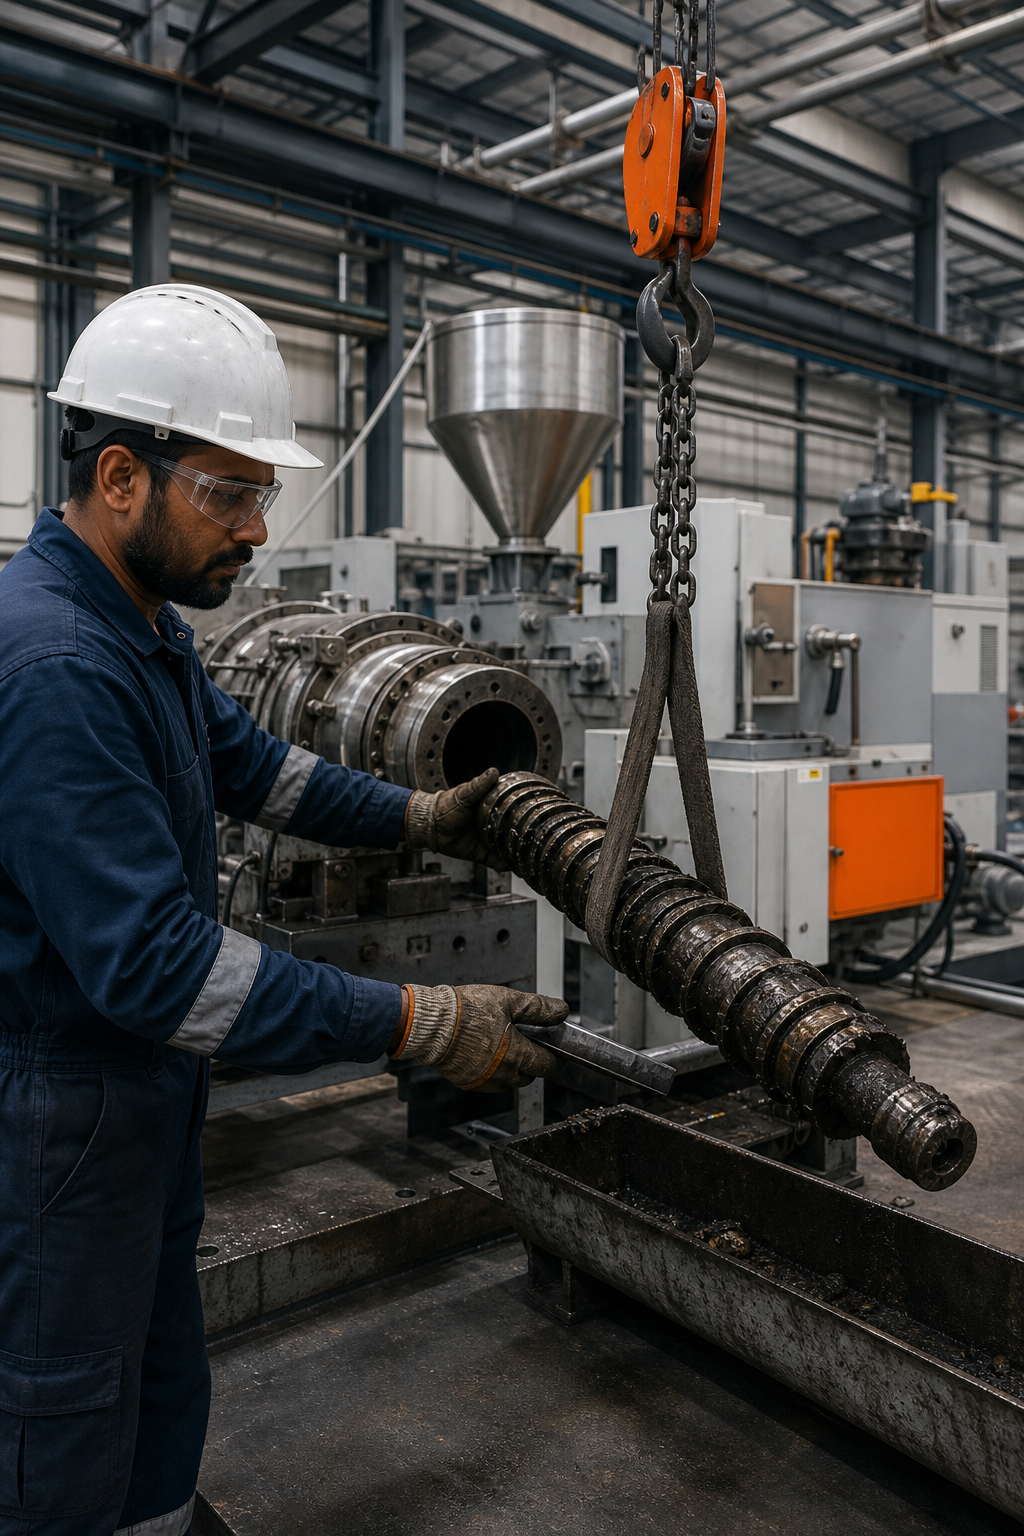
Our team at Sai Extrumech often sees customers skip the marking step and then waste hours re‑aligning the screw. A simple tag saves that trouble.
Step 3: Cleaning and Inspection
Now the screw and barrel are ready for a deep clean. Load a small amount of cleaning resin through the discharge port. Run the machine until the extrudate matches the resin’s colour and gloss.
Stop the rotation, open the die head, and manually brush the flights with a suitable brush. The brush removes carbon deposits without scratching the steel.
Pull the screw out again and inspect it under bright light. Look for rounded flight tips, scoring, or pitting. Measure the outer diameter at the feed, compression, and metering zones with an appropriate measuring tool.
For the barrel, insert an appropriate measuring tool and record the inner diameter at several points. Compare these numbers with the OEM specifications. Any noticeable gap may indicate wear.
According to Wikipedia’s overview of plastic extrusion, maintaining the correct screw‑to‑barrel clearance is critical for melt flow and energy efficiency.
After inspection, rinse the barrel with a low‑viscosity cleaning resin and dry it with filtered air. Re‑install the die head only after the barrel is completely free of debris.
Step 4: Reassembly and Alignment
Begin by cleaning both the screw shank and the coupling bore. Any grit left behind can cause mis‑alignment later.
Place the screw back into the barrel slowly, watching the alignment marks you made earlier. Check the alignment to confirm the screw runs straight along its entire length.
If misalignment is observed, rotate the screw a few degrees and re‑check. Small adjustments are easier than re‑doing the whole pull.
Secure the coupling according to the machine’s service manual specifications. Over‑tightening can crush the screw threads; under‑tightening lets the screw slip.
Check the clearance again using an appropriate measuring tool. The gap should be within the manufacturer’s recommended clearance range.
Finally, reinstall the die, head, and any adapters. Verify that all coolant lines are re‑connected and that there are no leaks before you power up.
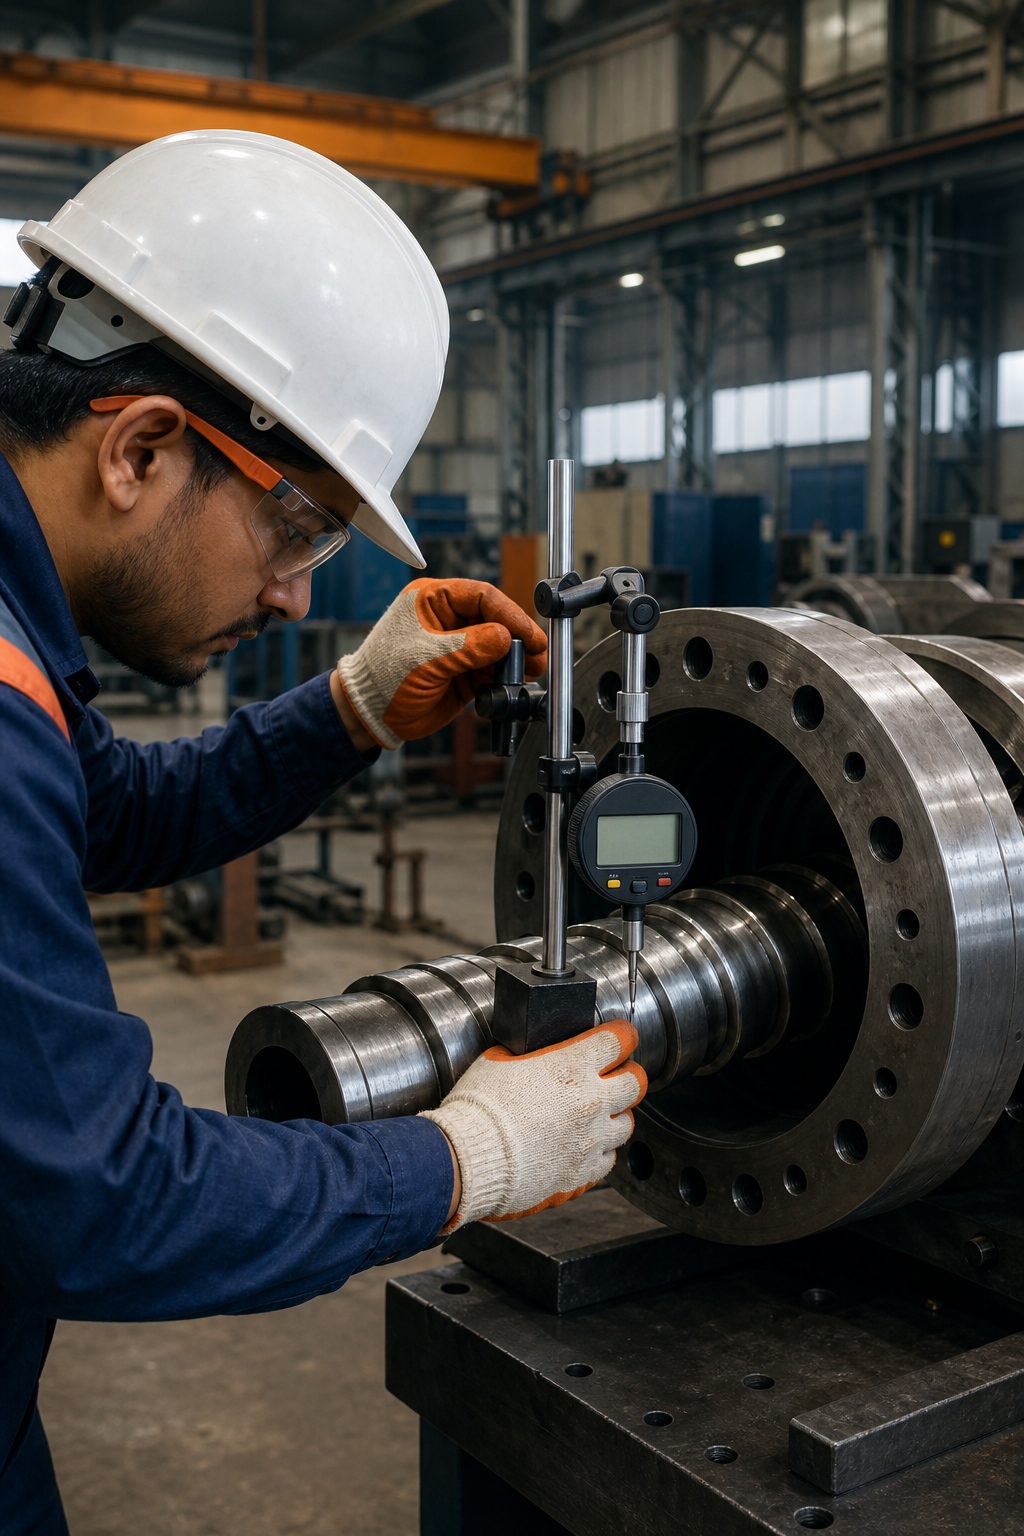
When you need expert advice on alignment, Sai Extrumech’s support team can walk you through the process with detailed drawings.
Step 5: Preventive Maintenance & Monitoring
A solid preventive‑maintenance (PM) plan keeps wear in check. Record the screw‑to‑barrel gap each time you pull the screw. Trending the data helps you predict when a part will need replacement.
Monitor key process indicators daily: motor amperage, melt temperature, and head pressure. A gradual rise in any of these values often signals increasing friction from wear.
Schedule a full inspection at least once a year for standard polymers, and more frequently for abrasive compounds. The Sai Extrumech wear‑prevention guide suggests tightening the interval when you run filled or corrosive resins.
Use a suitable purging material during color or material changeovers. It helps reduce cleaning time and resin buildup on barrel walls.
When the gap exceeds the recommended upper limit, plan a shutdown for a barrel re‑sleeve or a screw rebuild. Early action prevents the screw from grinding the barrel, which can cause delamination or surface defects in the extruded product.
Document every maintenance event in a record-keeping system. Having a history lets you spot patterns and justify spare‑part orders to management.
FAQ
How often should I pull the screw for inspection?
We recommend pulling the screw at least once a year for typical polymer runs, and at shorter intervals for abrasive or filled compounds. More frequent checks help catch wear before it hurts output.
What safety gear is mandatory during maintenance?
Heat‑resistant gloves, safety goggles, steel‑toe boots, and other required protective equipment are essential. Proper lockout procedures are also required to keep the machine from restarting.
Can I use a regular drill to clean the barrel?
No, a drill can gouge the barrel bore. Use an appropriate brush or a soft‑bristle scraper designed for extrusion equipment to avoid damaging the surface.
What is the ideal screw‑to‑barrel clearance?
The industry standard clearance is a very small fraction of the barrel diameter. Staying within this range ensures smooth melt flow and reduces energy consumption.
How does monitoring motor amperage help?
Rising amperage at a constant screw speed usually means the screw is working harder due to increased friction, which often points to wear inside the barrel.
Where can I find detailed specifications for my extruder?
Check the OEM’s service manual or the Sai Extrumech selection guide for the exact dimensions and tolerances of your screw and barrel.
Conclusion
Follow these five steps and you’ll keep your extrusion line running smoothly while extending component life. For deeper insights, explore our Screw and Barrels resource page and start building a strong preventive‑maintenance schedule today.
Ready to put this into practice? Sai Extrumech Pvt. Ltd. was built for exactly this.

Add a Comment