
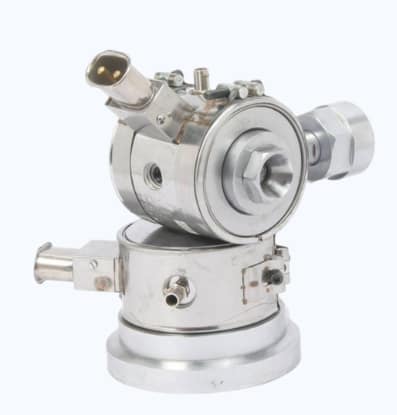
We get asked a lot: what exactly does a crosshead do in an extrusion line? The short answer is it shapes and seals the coating around a moving conductor. Below we break down the definition, the inner workings, the role it plays, the main types, and how to keep it running smoothly.
What Is a Crosshead in Extrusion?
A crosshead is the tooling assembly that directs molten polymer around a wire or tube at a 90‑degree bend, creating a uniform coating. It sits at the end of the plasticizing system and is bolted or pinned to the extruder’s vertical support. The die inside the crosshead defines the outer shape, while the tip (or guide) sets the inner diameter, controlling wall thickness and concentricity.1
In cable production the crosshead determines three critical quality factors: insulation thickness, concentricity, and surface finish. If any of these drift, the cable can fail electrical tests or wear out early. Sai Extrumech’s crosshead machines come with a full spare‑parts inventory and can be retrofitted onto existing lines, a rare service‑first edge in the Indian market.
Because the crosshead handles the transition from high‑pressure melt to a cooled coating, it must tolerate temperature spikes, pressure fluctuations, and abrasive fillers without warping. Proper design also includes a vertical support to keep the head stable under load.
For a deeper look at how the extrusion head fits into the overall process, on crosshead fundamentals in cable extrusion. This resource walks through the die‑tip gap and why it matters for wall‑thickness control.
Key Components and How a Crosshead Works
The heart of a crosshead is the die‑tip assembly. The die shapes the outer profile, while the tip (often called the guide or core tube) supports the conductor and sets the inner diameter. Between them lies a narrow gap that controls how much polymer flows around the wire.
Additional components include:
- Sealing rings , keep melt pressure inside the head.
- Cooling jackets , regulate temperature to prevent sagging.
- Adjustment screws , let you fine‑tune the gap for different material viscosities.
When the polymer exits the extruder, it enters the crosshead at high pressure. The melt is forced through the tip‑die gap, wrapping the conductor in a continuous tube. Precise control of gap size and temperature yields a uniform wall thickness and smooth surface.
Our engineers run finite‑element simulations to map pressure and shear within the head, ensuring the flow stays laminar and avoids dead zones that could cause polymer stagnation.2
Here’s a quick visual of the flow path:
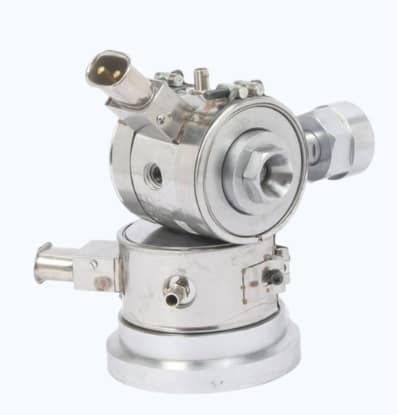
Understanding these components helps you diagnose issues like uneven coating or excessive flash.
Crosshead’s Role in the Extrusion Process
In the extrusion line the crosshead sits between the melt‑zone and the cooling‑trough. It receives a high‑pressure polymer stream, shapes it, and delivers a coated conductor ready for immediate cooling.
This positioning gives the crosshead two strategic duties. First, it must maintain a steady melt pressure so the coating thickness stays within tight tolerances. Second, it must align perfectly with the conductor to avoid eccentricity that leads to weak spots.
A triple‑crosshead design can use specialized distributors to keep wall thickness exact across multiple layers of XLPE insulation. Scaled centring screws allow the operator to repeat the same centring set‑up after each tool change.
Our own crosshead line integrates temperature‑controlled fluid circulation units that provide at least 18 kW heating and 10 kW cooling at 120 °C, keeping the melt in the optimal viscosity window.
When the head is properly aligned, the downstream haul‑off can pull the cable at high speed without distortion, preserving roundness and dimensional stability.
For more on how crosshead speed affects material testing, various technical articles explain the principle, though they often focus on testing rigs rather than extrusion lines.
Types of Crossheads & Choosing the Right One
Crossheads come in several configurations, each tuned for a specific production need.
- Single‑layer heads, ideal for simple insulation or jacket applications. They have one die‑tip gap and are the most compact.
- Multi‑layer heads, handle two or three coating layers in a single pass. They use additional flow distributors and independent gap adjustments for each layer.
- Quick‑change heads, feature modular die sets that can be swapped in minutes, reducing downtime when switching cable sizes.
When picking a crosshead, ask yourself:
- How many coating layers does my product need?
- Do I require fast changeovers for multiple cable sizes?
- Is my line a retrofit or a greenfield build?
For retrofits, Sai Extrumech’s turnkey crosshead offers a plug‑and‑play mounting system that fits both small and large extruders. Competitors often sell high‑speed heads that lack the same integration support, forcing you to redesign the surrounding line.
Our in‑line head page explains how the mounting geometry works and why it eases integration: In‑Line Head for Cable Extrusion.
If you need the latest research on multi‑layer flow dynamics, the advancements deep‑dive covers simulation tools we use to design optimal crossheads.
Maintenance, Troubleshooting, and Common Issues
Even the best‑designed crosshead will degrade if you skip routine care. The most common problems stem from contamination, misalignment, and wear on sealing surfaces.
Key maintenance steps:
- Clean the die and guide tip after each shift while the head is still warm , residue peels off more easily.
- Inspect sealing rings for wear; replace any that show scoring.
- Check centring screws for drift; re‑centre the head before each production run.
- Verify cooling jacket flow rates; inadequate cooling leads to melt‑back and surface roughness.
If you notice uneven wall thickness, the first suspect is a dirty tip‑die gap. A speck of polymer can act like a spacer, widening the gap locally and causing a thick spot.
Another frequent issue is over‑tightening of bolts, which can warp the die and introduce eccentricity. Use a torque wrench set to the manufacturer’s spec , over‑torqued bolts can also crack sealing rings.
When a problem persists, consult the tooling supplier’s troubleshooting guide. Guill’s article on tooling maintenance emphasizes the importance of a dedicated work cart and soft‑jaws vices for handling heavy heads safely.
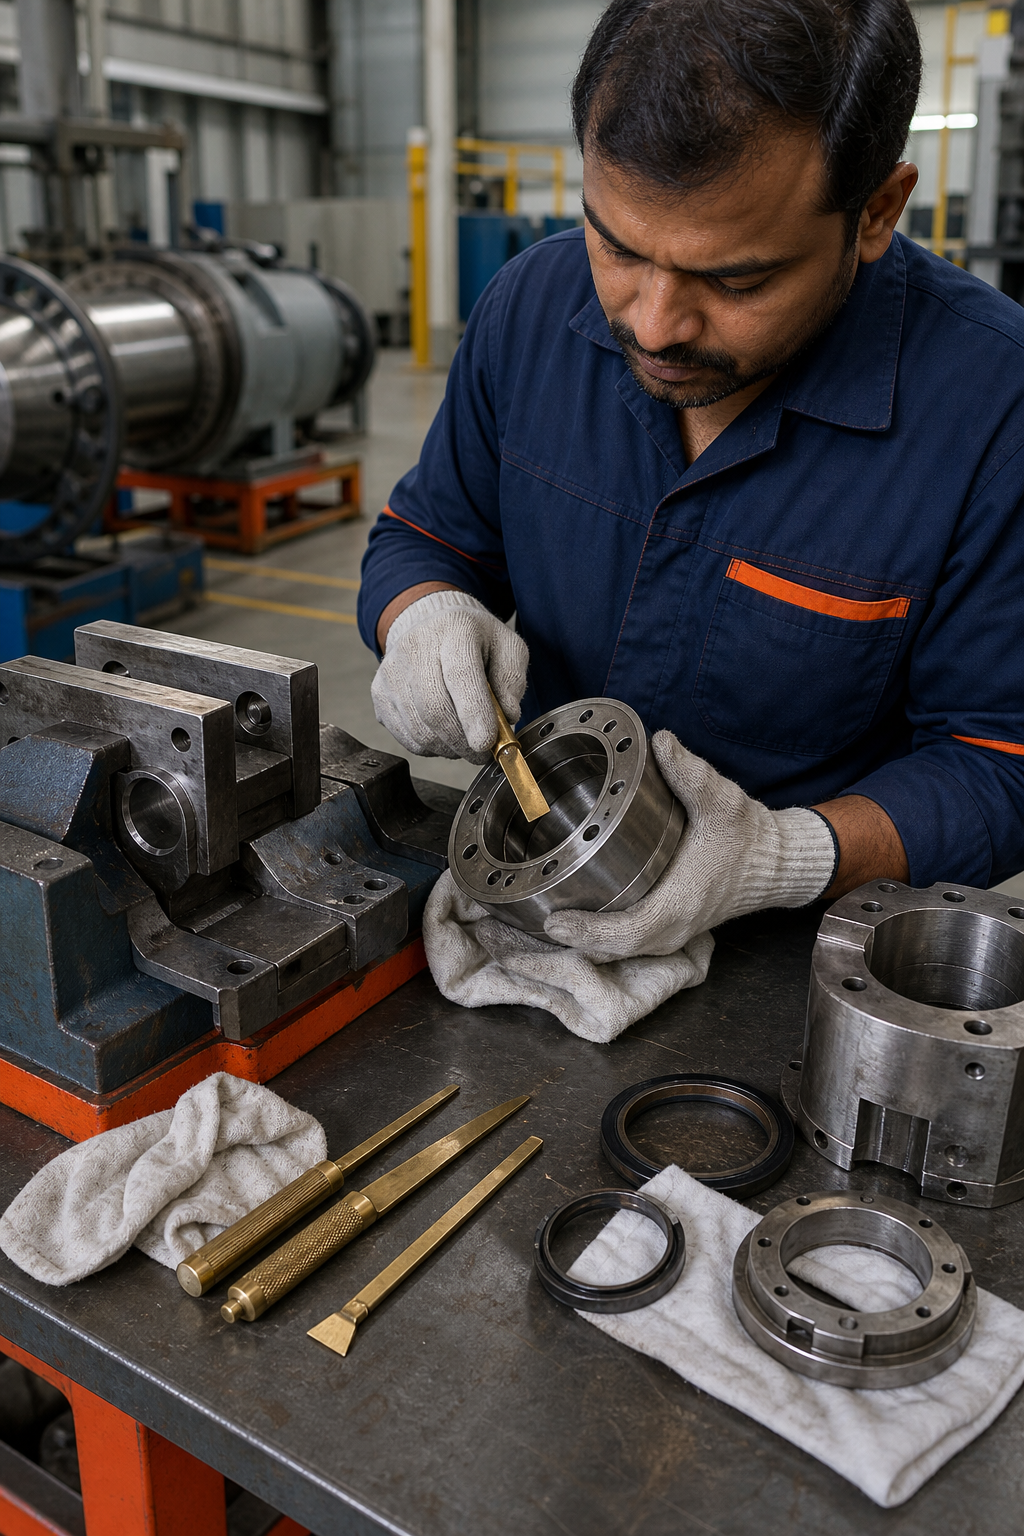
Keeping a stock of spare seals and tips reduces downtime dramatically. Our spare‑parts inventory is stocked for immediate dispatch, letting you replace a worn seal in under an hour.
FAQ
What does a crosshead do in a cable extrusion line?
A crosshead shapes and seals the molten polymer around the conductor, producing a uniform coating that solidifies downstream.
How many layers can a crosshead coat at once?
Multi‑layer crossheads can apply two or three layers in a single pass, using separate flow distributors for each material.
Can I retrofit a crosshead onto an existing extruder?
Yes. Sai Extrumech’s crosshead machines are designed for easy integration with existing lines, requiring only a standard bolt‑pin mounting interface.
What maintenance routine keeps a crosshead performing well?
Clean the die and tip while hot, inspect seals regularly, verify centring screws, and maintain coolant flow. Follow the supplier’s torque specs for bolt tightening.
Why does wall thickness vary during production?
Variations usually stem from a dirty or mis‑aligned tip‑die gap, inconsistent melt pressure, or uneven cooling downstream of the head.
How often should I replace sealing rings?
Seal life depends on material abrasiveness, but a visual inspection each month and replacement at the first sign of scoring is a good rule of thumb.
We hope this explainer cleared up the role and care of crossheads in extrusion. If you’re ready to upgrade or need a custom solution, explore our crosshead manufacturer guide for more details and contact our engineering team for a free consultation.
Ready to put this into practice? Sai Extrumech Pvt. Ltd. was built for exactly this.

Add a Comment